Lighting plays a crucial role in the realm of photography, particularly when it comes to headshots. It holds the power to enhance the features of your subject, add depth and texture, and influence the overall atmosphere and tone of the photograph. Whether you are an experienced photographer seeking to capture flawless corporate headshots or an enthusiast striving to enhance your skills, comprehending the significance of lighting in headshot photography is vital.
Mastering the Fundamentals of Lighting for Headshots
When it comes to capturing captivating headshots, having a firm grasp of the fundamental principles of lighting is essential. Two key aspects to consider are the direction and quality of the lighting:
- Directional Lighting: The concept refers to the angle at which light illuminates your subject. It may originate from the front, side, rear, or above, creating various lighting effects.
- Light Quality: This relates to the quality of light, whether it is harsh or soft. Hard light produces pronounced shadows and high contrast, whereas soft light yields gentler shadows and reduced contrast.
Directional Lighting
| Direction | Effect |
|---|---|
| Front Lighting | By minimizing shadows, this lighting technique creates a flat, two-dimensional appearance. It is particularly suitable for capturing simple headshots. |
| Side Lighting | It accentuates one side of the face while casting shadows on the other, thereby enhancing depth and dimension in the photograph. |
| Back Lighting | When not balanced with front lighting, this lighting setup produces a silhouette effect, emphasizing the subject’s outline. |
| Overhead Lighting | It generates dramatic shadows, commonly employed for capturing a more artistic or stylized headshot. |
Light Quality
| Quality | Effect |
|---|---|
| Hard Light | It produces striking images with high contrast, accentuating texture, and depth in the photograph. |
| Soft Light | It produces images with reduced contrast, featuring smoother transitions between highlights and shadows. This lighting technique is well-suited for various headshot scenarios. |
Lighting Setups for Headshots
Various lighting setups offer a plethora of effects that can be achieved in headshot photography. Below are some commonly used configurations:
Three-Point Lighting
Three-Point Lighting is a classic lighting setup used in photography and cinematography. It involves three lights strategically placed for desired effects:
- Key Light: The key light is positioned at a 45-degree angle from the front and slightly to one side, serving as the main light source that illuminates the subject, highlighting facial features and setting the scene’s mood;
- Fill Light: The fill light is placed on the opposite side of the key light, effectively softening the shadows it creates. It helps balance the lighting and ensures that important details are not lost in the shadows;
- Backlight: The backlight is positioned behind and above the subject, creating a rim of light that adds depth and separation. It enhances visual appeal and effectively separates the subject from the background.
Rembrandt Lighting
Rembrandt Lighting is a popular lighting technique in photography and cinematography, named after the renowned painter Rembrandt van Rijn. It involves positioning the key light in a specific way to create a distinctive small, triangular light on the shadowed side of the subject’s face. This technique adds depth, dimension, and a sense of drama to the subject, often resulting in a Rembrandt-like lighting effect. To achieve Rembrandt Lighting, the following elements are involved:
- Key Light Placement: The key light is angled at around 45 degrees, positioned slightly to one side, and elevated above eye level to cast a triangular patch of light on the shadowed side of the face, creating an inverted triangle shape pointing towards the cheek or nose;
- Shadowed Side: The shadowed side of the face is opposite to the placement of the key light and receives less direct light, leading to pronounced shadows and a sense of depth;
- Triangle of Light: The triangular patch of light on the shadowed side of the face is a distinct feature of Rembrandt Lighting, formed through the interplay of light and shadow, with the key light casting a triangular shape under the eye and nose;
- Impact and Aesthetic: Rembrandt Lighting brings mood, drama, and sophistication to the subject, accentuating facial features, adding depth, and creating intriguing shadow patterns. The resulting effect evokes a classic, painterly quality reminiscent of Rembrandt’s portraits.
Butterfly Lighting
Butterfly Lighting, also referred to as “Paramount lighting,” is a distinctive technique where the key light is placed directly in front of the subject and slightly above their eye level, resulting in a shadow under the nose that resembles a butterfly’s wings. This setup creates a unique and glamorous look, often associated with classic Hollywood portraits. To achieve Butterfly Lighting, the following elements are involved:
- Key Light Placement: The key light is positioned directly in front of the subject, slightly above their eye level, creating a shadow under the nose that resembles butterfly wings;
- Shadow Formation: The shadow cast by the key light falls beneath the subject’s nose, resembling the shape of butterfly wings. This shadow adds depth and dimension to the subject’s face, accentuating their features;
- Glamorous Effect: Butterfly Lighting is renowned for its glamorous and elegant appearance, creating a distinct aesthetic commonly associated with classic Hollywood portraits. This technique emphasizes the subject’s facial features and adds a touch of sophistication to the overall image.
Loop Lighting
Loop Lighting is a popular lighting technique characterized by the placement of the key light to one side of the subject, resulting in a small shadow of the subject’s nose that forms a loop-like shape on their cheek. This technique adds depth, dimension, and a touch of drama to portraits. To achieve Loop Lighting, the following elements are involved:
- Key Light Placement: The key light is positioned at a 30-45 degree angle off to one side of the subject, slightly higher than their eye level. This placement results in a small shadow of the nose on the cheek, creating a loop-like shape;
- Shadow Formation: The shadow cast by the key light falls on the side of the face opposite to its placement, forming a loop shape where the shadow of the nose connects to the shadow on the cheek;
- Depth and Dimension: Loop Lighting enhances the subject’s face by adding depth and dimension. The interplay between light and shadow creates contours, highlighting facial features, while the loop-shaped shadow adds visual interest and draws attention to the subject’s face;
- Dramatic Effect: Loop Lighting adds drama and intrigue, enhancing the overall mood of the image. The contrast between the lit and shadowed areas creates a visually striking composition, particularly effective in capturing portraits with depth and character.
Selecting the Right Equipment
To manipulate light effectively, you’ll need the right equipment:
| Light Source | Description |
|---|---|
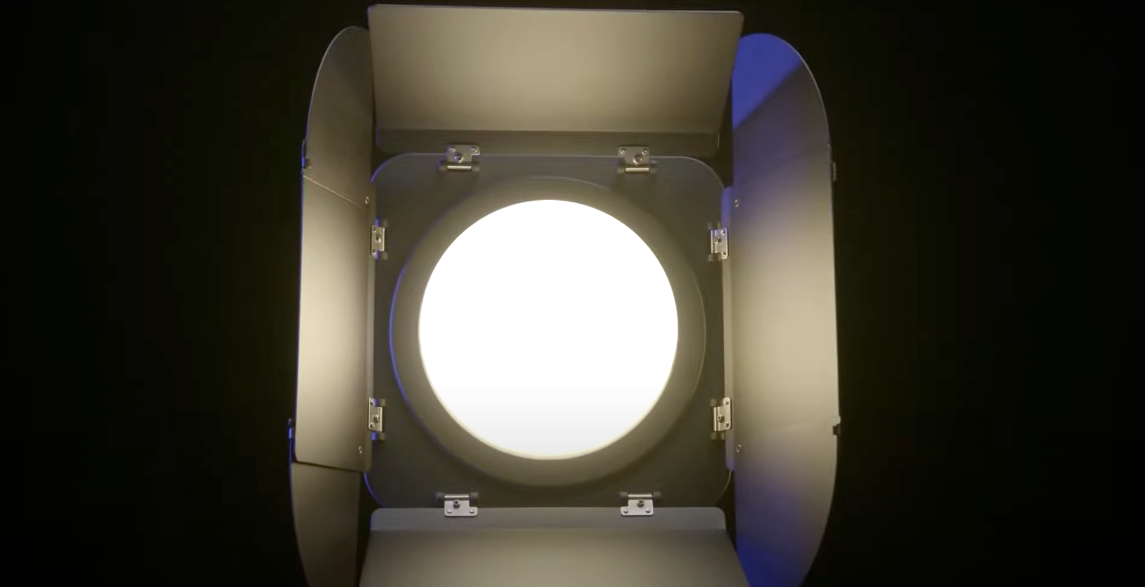
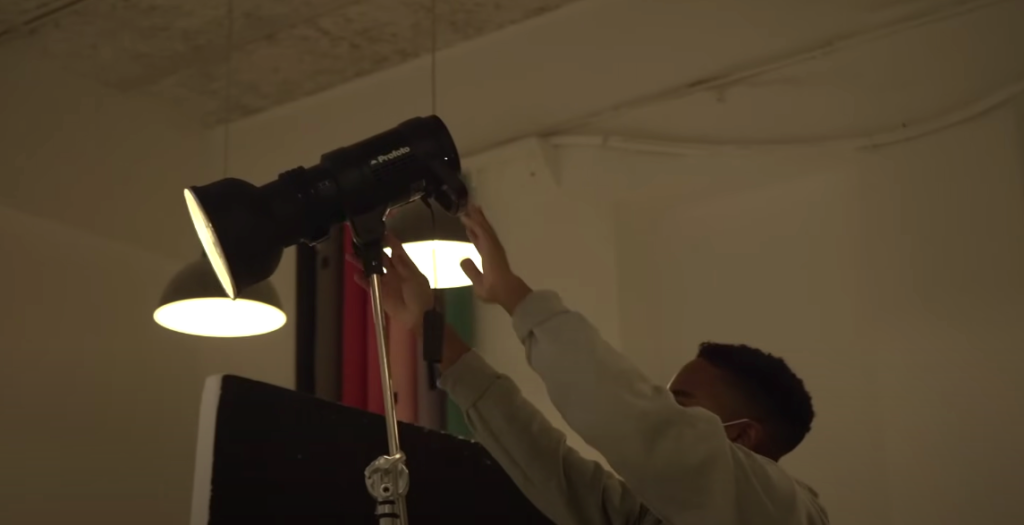
| Flash or Strobe | High-intensity light sources commonly used in studio photography. |
| Reflectors | Bounce light onto the subject, filling in shadows. |
| Diffusers | Soften the light source, reducing harsh shadows. |
| Light Modifiers | Includes softboxes, umbrellas, and beauty dishes, each with unique light qualities. |
Remember, while professional equipment can be beneficial, creative lighting can also be achieved on a budget using natural light, DIY reflectors, and affordable light modifiers.
Conclusion
lighting is a powerful tool in headshot photography. By understanding and manipulating lighting direction, quality, and setup, you can create headshots that effectively capture your subject’s features and personality. Whether you’re using high-end studio lighting or making the most of natural light, every shot is an opportunity to enhance your skills and create something remarkable.
FAQs
This largely depends on the look you’re going for. For a standard professional headshot, a three-point lighting setup with soft light is a great starting point. If you’re aiming for a more dramatic or artistic effect, you might experiment with Rembrandt or butterfly lighting.
Position your subject near a large window and use a reflector to bounce light and fill in shadows. Avoid direct sunlight as it can create harsh shadows. Overcast days are ideal for natural light photography as the clouds act as a giant diffuser, creating soft, flattering light.
The “golden hour” (shortly after sunrise or before sunset) provides warm, soft light, which is flattering for headshots. However, shooting during an overcast day can also produce great results, as the clouds create a large, soft light source.
Using a flash (or a technique called ‘fill-flash’) outdoors can help balance the natural light and fill in shadows on the subject’s face, particularly when shooting in bright sunlight. However, it’s not always necessary, especially if the natural light is already soft and diffused.